TCP long spike measurements
Take the long spike measurement points

TCP long spike
How to take the measurements
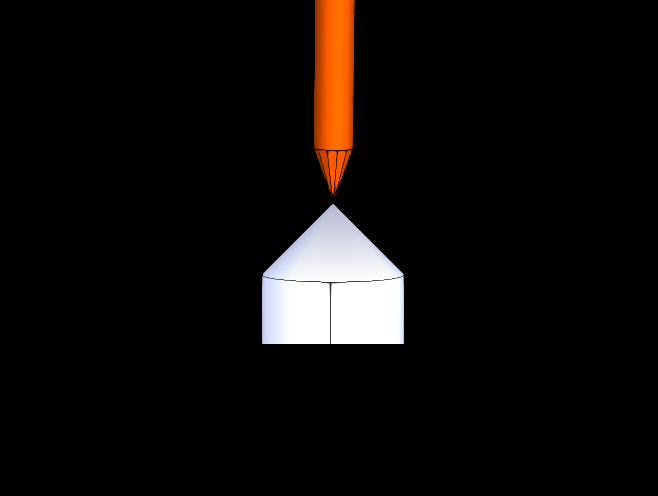
Remember to align the spikes exactly!
Save 8 points
TCP long spike done!
Measurement checklist:
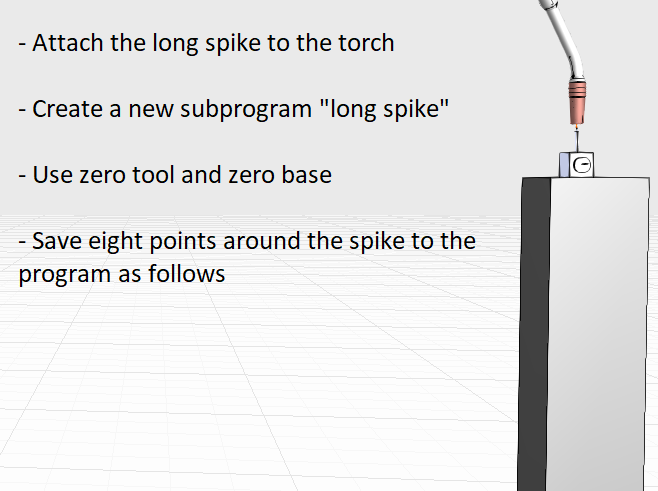
Setting up the measurements
Create a new program in the robot controller and attach the long spike to the robot torch. Attach the magnet spike close to the robot so, that the robot can reach the spike from multiple orientations. Choose robot settings with zero base and zero tool.
Taking the measurements
Like in short spike, align the spikes so, that the tips match exactly and then save the point to the program using a joint motion type. While taking the points, make sure that the mountplate of the robot covers as big of an area as possible and the robot joints change their values as much as possible between the points.
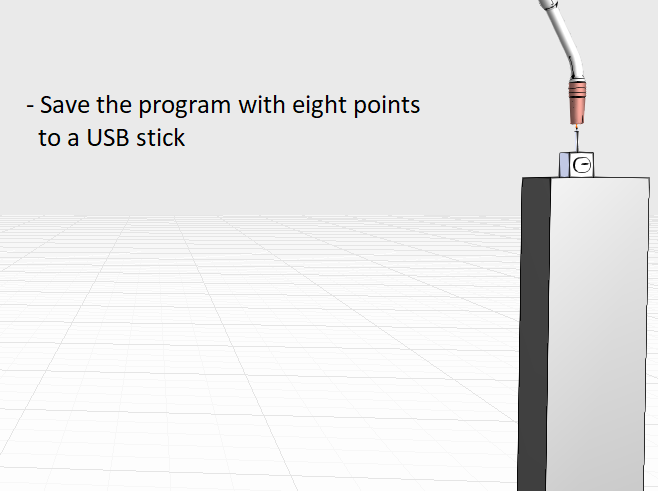
After taking the measurements
After the measurements you should have one program with 8 points. Save the subprogram in ASCII format to a USB-stick from the controller.