Robot gantry measurements
All three moving axes in the gantry need to be measured separately using the calibrated TCP.

Robot gantry
How to take the measurements

X points
Y points
Z points
Gantry measurements done!
Measurement checklist:
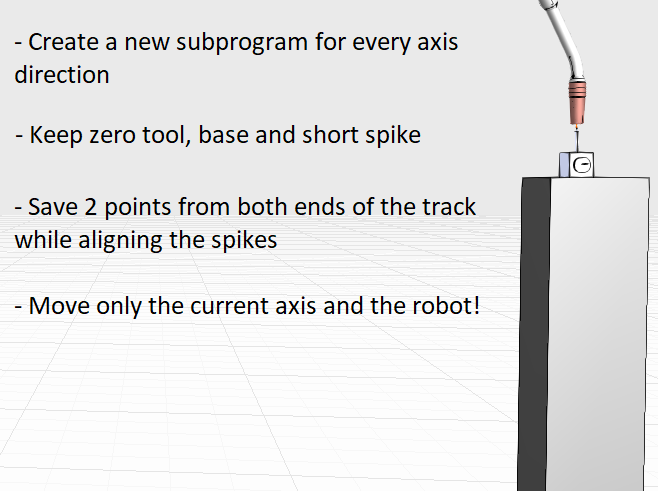
Setting up the gantry measurements
To calibrate the gantry axes, all X, Y and Z directions need to be measured to their own programs. Keep the same robot settings with zero base, zero tool and short spike, and attach the magnet spike somewhere so that the robot can reach the spike easily.
Create a program in the robot controller for the axis that is the closest to the robot in the kinematic chain. This is the one that moves the robot base. Then save one point so that the robot is on the one end of the gantry axis and second when the robot is on the other end of the same axis. Make sure that in the second point the spike tips match exactly, move only the robot joints to match the points.
After saving the two points, create new programs for the remaining axes and save the points similarly.
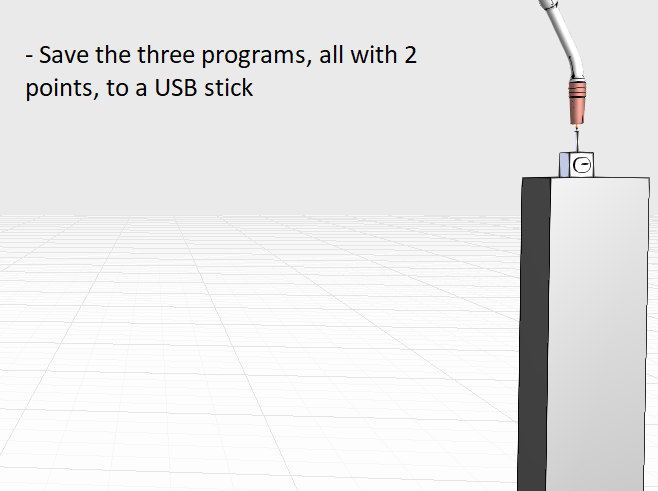
After gantry calibration, you should have 3 programs with 2 points each , for X, Y and Z axes respectively.
After taking the measurements
Save all the subprograms to a USB-stick from the controller.