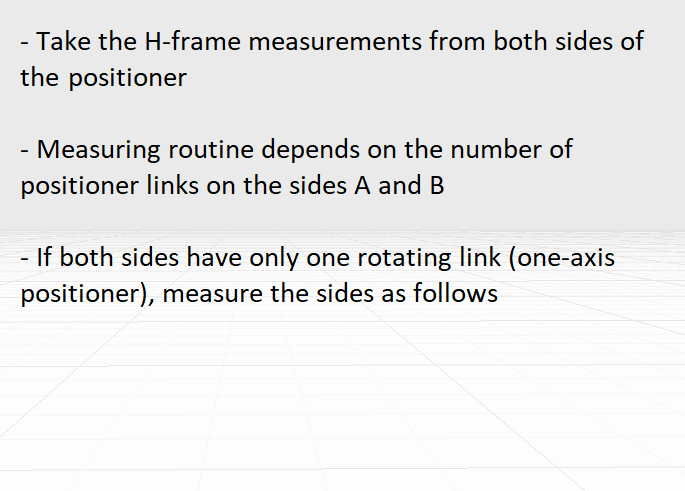
Measurements for an H-frame positioner
H-frame measurements

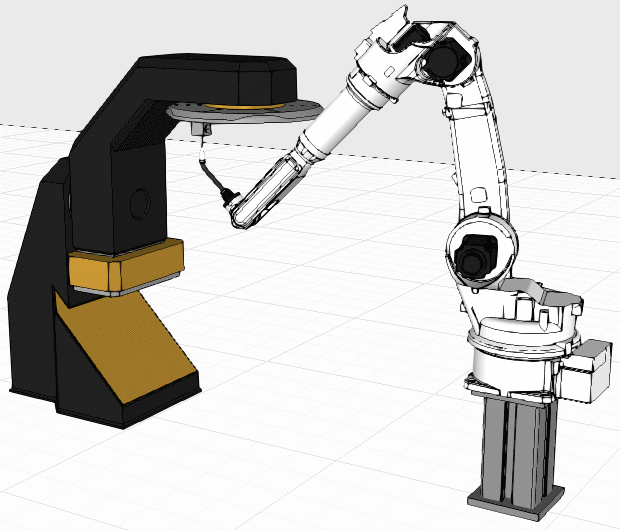
H-frame
How to take the measurements
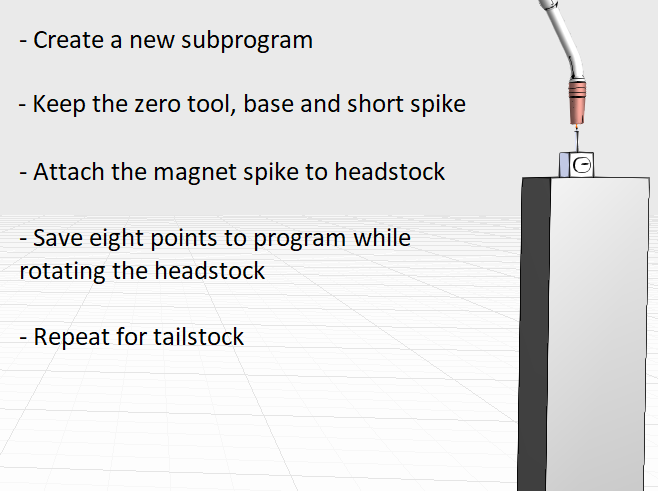
Headstock points
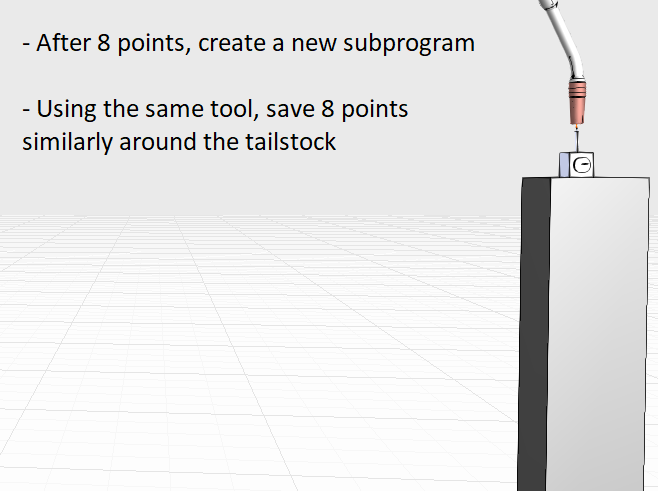
Tailstock points
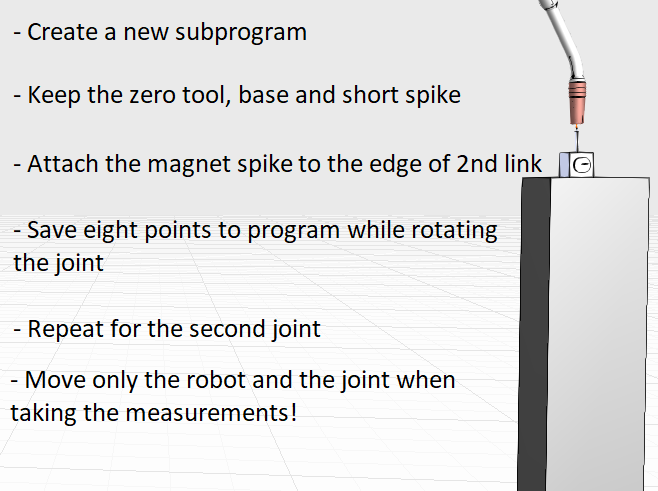
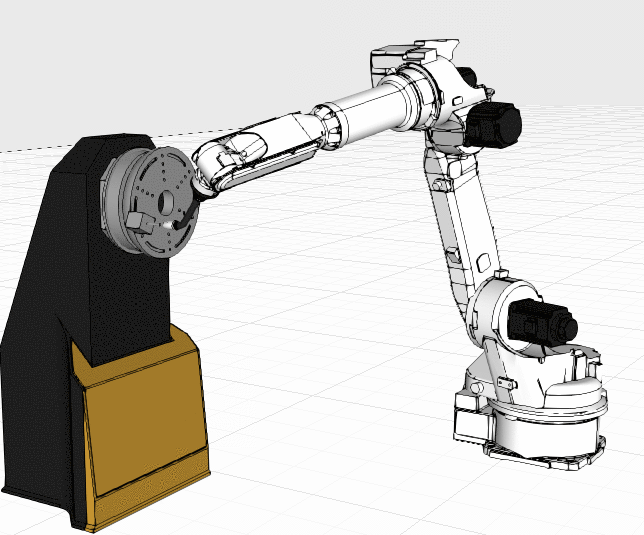
First joint
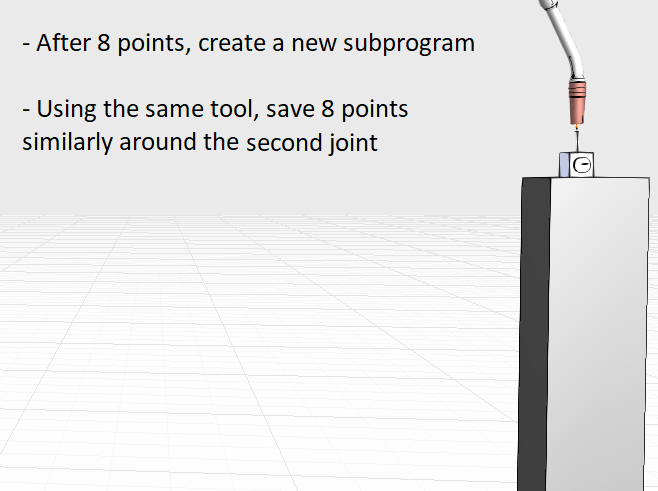
Second joint
H-frame measurements done!
Measurement checklist:
Setting up the H-frame measurements
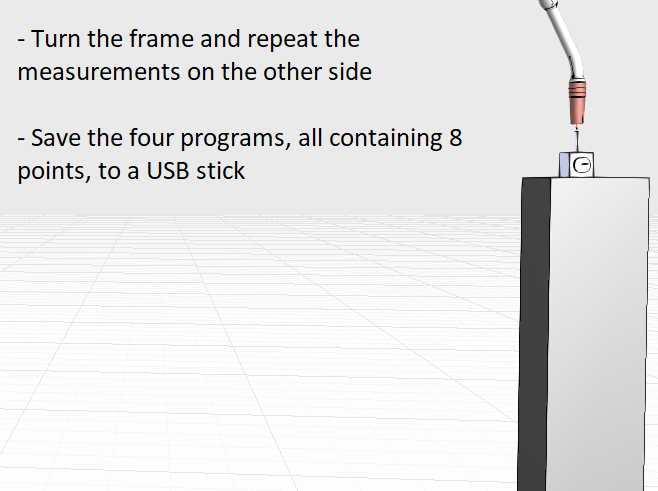
Keep the same robot settings with zero base, zero tool and short spike. The measurements for the H-frame are taken from the positioner plates from the both sides of the H-frame. The unit turn doesn't need to be measured. If the H-frame has one-axis positioners on both sides of the frame, the measuring protocol is the same as with one-axis positioner or if the frame has two-axis positioners the protocol is the same as with two-axis positioner, only conducted to both sides of the H-frame.
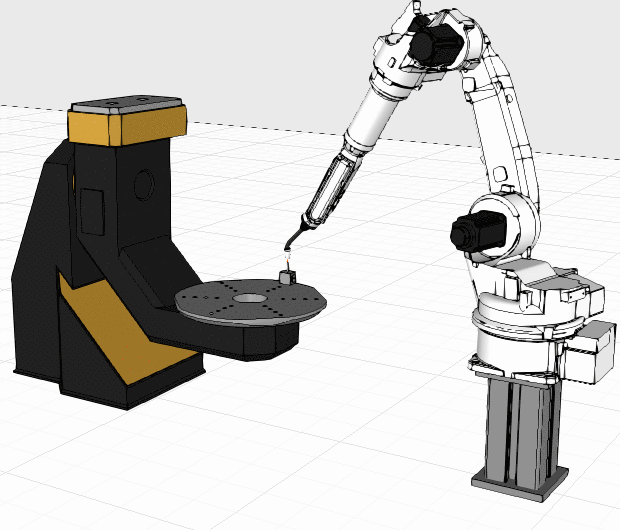
For taking the points, Synchro base can be used to move the positioner and the robot synchronously.
After H-frame measurements, you should have 4 programs with 8 points each.
After taking the measurements
Save all the subprograms to a USB-stick from the controller. Name the programs logically so, that they are distinguishable.